How To Turn On ProRes Video On Your iPhone 13 Pro
11/17/2021
5074
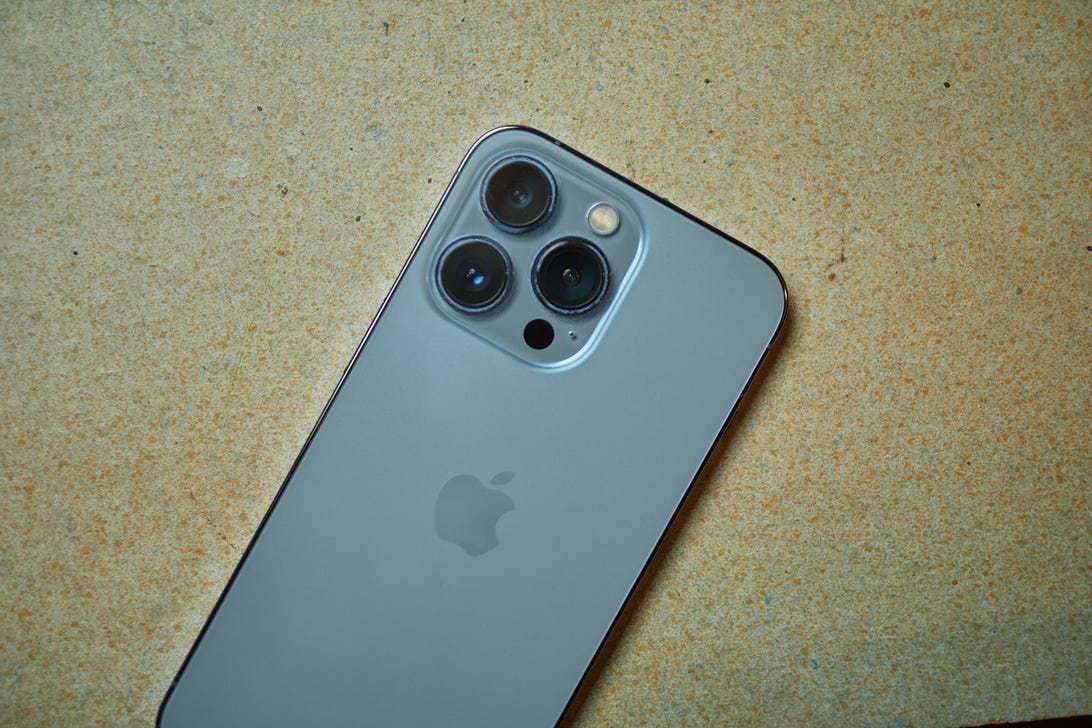
ProRes is Apple's own video codec that allows the camera to capture more information when shooting and thereby allowing for greater control in post-production in software like Adobe Premiere, Final Cut or DaVinci Resolve. ProRes is frequently used in professional video productions, but Apple has now made it available on the most recent iPhone.
Here is how to use it:
First of all, make sure you have the latest version of iOS installed. Apple brought ProRes to the iPhone 13 Pro with software version 15.1, so make sure you've updated your phone to this version. To do so, head to Settings > General > Software Update to ensure you have the latest version.
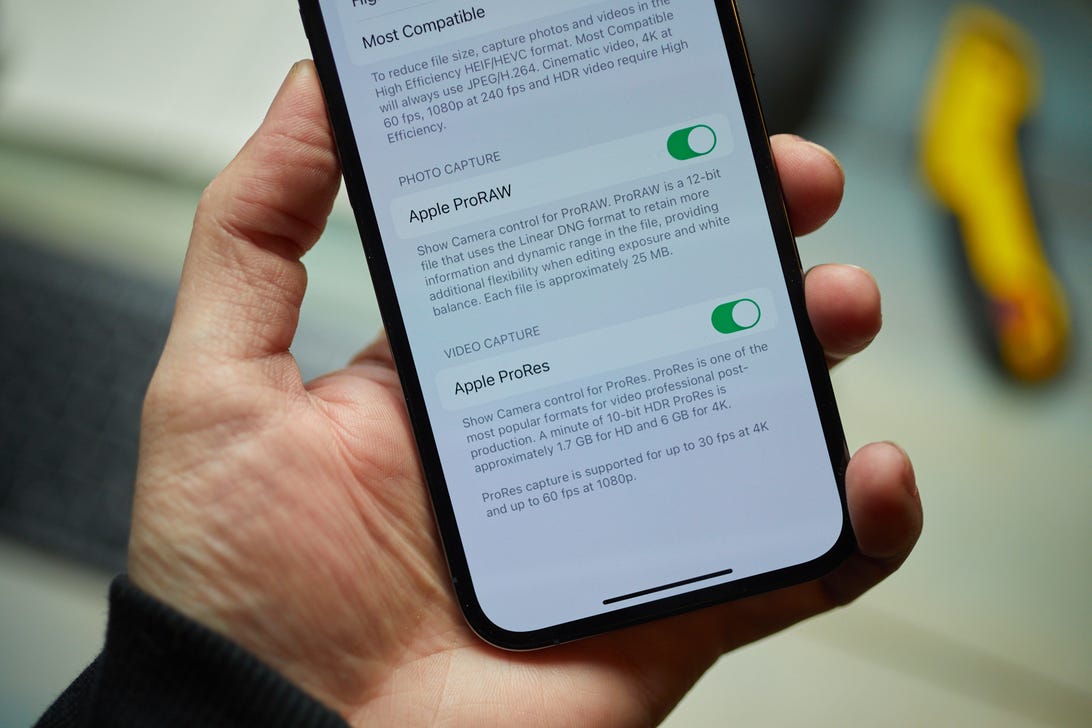
If you're running iOS 15.1, head into Settings and scroll down to go into your camera settings. In that section, tap Formats and in that subfolder you'll find an option to turn on Apple ProRes video capture. Tap it so that the toggle shows as green.
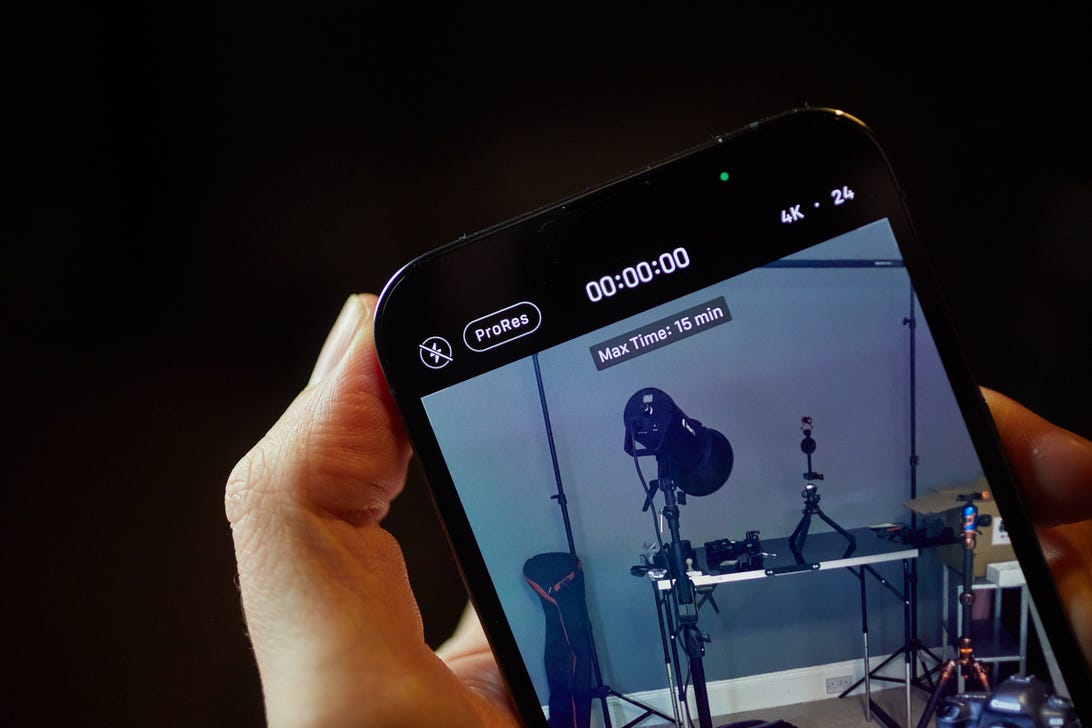
Now when you go into your camera and select video, you'll see a new icon saying ProRes. If it has a white line through it, then ProRes is turned off. Tapping it will activate ProRes and the white line will be removed. Simply press Record and you'll be shooting video in ProRes format.
Should you use ProRes on the iPhone?
If you really want to squeeze every ounce of quality from the iPhone's video and plan on doing a lot of post-production, then you might benefit from ProRes. Keep in mind, though, that file sizes are immense -- a 1-minute ProRes 4K video file is 6GB, while a 1-minute video in regular 4K is around 200MB.
Apple has limited ProRes recording to only 1080p instead of 4K on the lowest capacity iPhone models, but even if you have lots of room it's worth using it only when needed to avoid filling up your storage too quickly. If you just want to shoot great-looking video straight from the phone and don't intend to play around with color grading in post-production software, then you likely won't see much benefit from using ProRes.
Source: CNET
